Maps
As a high school social studies teacher, I constantly use different types of maps for all of my classes. More times than not, these are maps created by other individuals with various amounts of information that may/or may not be pertinent to my classroom.
After attending the GAFE (Google Apps For Education) KC Summit this summer, the idea of map creation (as opposed to map consumption) became a real reality. The presentation was done by Stafford Marquardt (Product Manager for Google My Maps) on how to use mymaps.google.com to create interactive maps. Simply put, this presentation rocked my world in all the right ways!
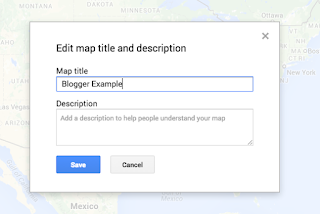 |
| Title the Map |
So how does it work?
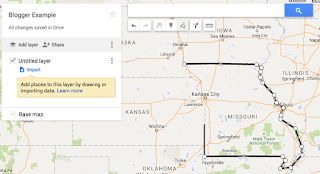 |
| Outline an area |
First go to mymaps.google.com and start creating maps! One of the cool features of My Maps is that the file is automatically saved in your Drive so that you can access it like your other Google Docs. Which means you can also share them just like Google Docs, Sheets, Slides, etc. I realize that right now I need to provide more details on what to do, but really just messing with My Maps will amaze you.
Tips/Tricks
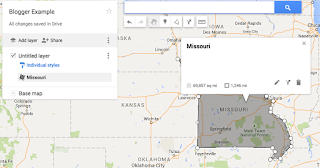 |
| Title the shape |
Create various different "layers" in order to keep it nice, neat and organized. If you want students to work on the same project, then have a different layer for each student.
Use the drawing mechanism to outline states, cities, etc. and then apply a color over the top. Once the color is applied, you can change the transparency to the desired level.
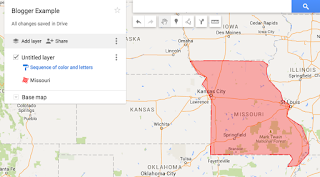 |
| Provide a color to the shape |
When you use the "marker" option, you can include pictures, videos, descriptions of that marker or location.
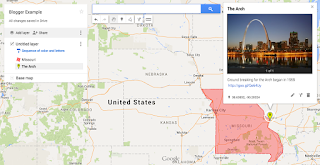 |
| Insert a marker with various Details |
If you do not want to create maps, or have students create maps, Google has provided some pre-built maps. These maps can be found at both of the following:
MyMaps Gallery
Google Maps Gallery
I have created a short Youtube video (60 seconds) that demonstrates how to download one of the template maps as a KMZ file and then import it into My Maps:
Also provided is the Presentation done by Marquardt that explains and provides examples of other ideas using My Maps:
Classroom Example:
Have students draw the path of Lewis and Clark from St. Louis to the Pacific and back. Break up the students with the job of a specific city on the route to another city (St. Louis to Omaha). Then have students trace the path, provide images of those location (Past and Present), and include words/images from the Lewis and Clark Journal (Link to Journal) to the spot where it was likely written.
Conclusion
I want to end with the following statement I have used constantly in the last two months. Start by messing with it and do not be afraid to break it. It normally is easy to fix and you will be shocked how capable you are at creating cool/interactive things!


